So, are you wondering how to start a blog? I'll help you to start a new blog for you and trust me it's very simple and also it does not require any technical experience. So, In this guide, I will explain to you step by step how to start a blog. Just follow the steps and you will be good to go. So let's get started.

Benefits of starting a blog?
There are so many benefits to starting a blog. Here are a few popular ones:
- Make money from your blog. Yes, you can make money from your blog. if you can write good content then you can earn a lot of money from your blog. But for that, you require fresh and unique content and a lot of time to write the content.
- Expand your business. With your blog, you can reach a larger audience on the internet and you can share your business news or products with a large community over the internet at a very low price.
- Share your experience. If you just want to write, share your experience, encourage others, and build a community, then a blog is a great place to start.
The 6 basic steps to start a blog
- Find your niche
- Choose a blogging platform
- Find a Domain and hosting Provider
- Choose a domain name
- WordPress Installation
- Login, Customization, and Blogging!!
Step 1: Find your niche
If you’re part of a business, company or organization, this step will be easy to determine. Your blog should be related to the products or services you provide, or the cause you promote.
If you’re an individual, you have more flexibility with the topic choice. The main things to be considered are:
- Choose a niche in which you have good knowledge.
- It should have plenty of room for discussion.
- Most importantly, choose a niche in which you can share your knowledge and can engage people with some extraordinary tips, tricks, facts, or ideas.
Step 2: Choose a blogging platform
For blogging, there are hundreds of platforms available on the internet. Few platforms offer free and some offer paid service. Those who provide free service has lots of limitations as well as they only offer limited functionality to the users. Out of many blogging platforms, WordPress is the most popular and is an open-source platform. About 24 % of all websites on the internet use a WordPress Site. You can use WordPress as a blog or as a personal or business website.
I use WordPress myself and appreciate its flexibility, functionality, ease of use, and a large community of people who share tools and ideas and it has a huge directory of free plugins and themes which extend the functionality of the WordPress.
WordPress also offers its free service but with limited functionality. You cannot extend its functionality with plugins. Also, you cannot use your own domain. It is known as WordPress.com blog. So, we recommend you to have a self-hosted WordPress blog with extended functionality. In this guide, we'll explain to you to set up a self-hosted WordPress blog.
Step 3: Find a Domain and Hosting
A hosting Provider provides server space for your site. So that you can store your content like Website, pictures, videos, Articles on their server.
A domain gives a proper destination address to all our files on the internet. Like geekzbuudy.com, this is a proper unique address on the internet. Here .com is the domain name that ensures the uniqueness of the website on the internet.
There are so many hosting and domain name providers. You can choose among hundreds of websites that provide domain and hosting. Choosing a good hosting provider is a very important decision because your website will depend upon the servers of your hosting provider. You should choose to host provider with the maximum uptime and with fast speed.
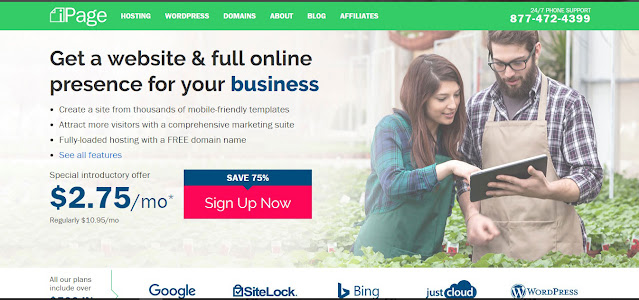
For advanced users with huge traffic or for e-commerce websites, I will Recommend going for Bluehost or Hostgator. As they have best servers however they are costly. But if you are new and start your blog for the very first time then I will recommend you go for ipage. Ipage is best suited for new bloggers as they have very cost-effective hosting service yet very powerful servers with 99.99 % uptime and provide excellent customer support. They also give you a free domain name with hosting. I personally use ipage for all my websites.
Click here to sign up for ipage
Step 4: Choose a domain name
It's time for you to choose your domain name. A domain name is very important in creating your brand. It should be unique, innovative, related to your niche, and easy to remember. The most common domain name is a .com domain. Other famous TLDs include .net, .org, .in, .co.in, .biz, .info, .us etc but i will recommend you to choose .com domain as it is easier to remember. If you already have a domain then you can use that domain otherwise you can register a new domain for you. Ipage gives you a free domain with your hosting. Type your domain name and check availability. If it is available then you are good to go for the next step.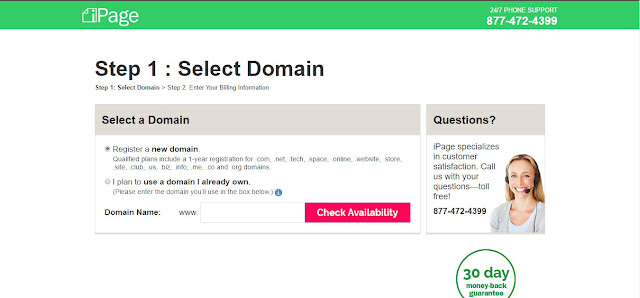
On the next page, you need to type your information and you need to select the hosting plan. You can select one, two, or three years at a time. Longer the duration of your hosting more will be your savings. But that all depends upon your budget. If you have less budget then you can start with a 1-year plan.
Also, there are few options that are already checked, these are extra services for your hosting. you can uncheck them all to save money. next is the billing part. So just fill all the billing information and make the payment.
After the completion of the payment, you will receive a welcome email from ipage which contains your username and password. Now login to ipage and you will see your Vdeck Control panel. This is the place where you can control all the backend of your website/blog.
Step 5: WordPress Installation
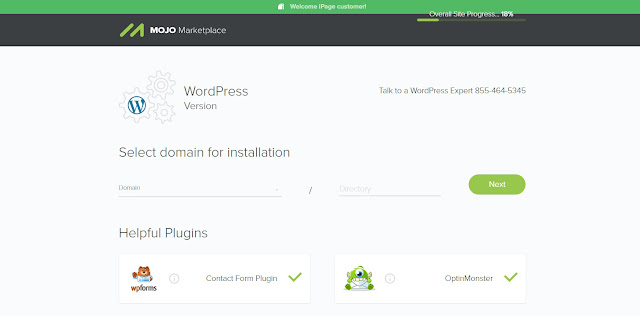
Once logged into your Control Panel, You need to install the WordPress for your blog. Installing WordPress on Ipage is very simple. It is 1 click Install by Mojo Marketplace. Click on the WordPress icon under the Website tab in your Control Panel.
Next, Click the Continue Installation button to go to the next step.
Choose your domain from the drop-down menu and also you can choose any subdirectory for your WordPress installation but I will recommend not using any subdirectory. Click next to go to the next page.
Now enter your site information like Site Name or title. Also choose your username, password, and your Email Address. WordPress will use this email address for further communication with you. Check all the 3 boxes, read Terms of Service, accepts it and click next
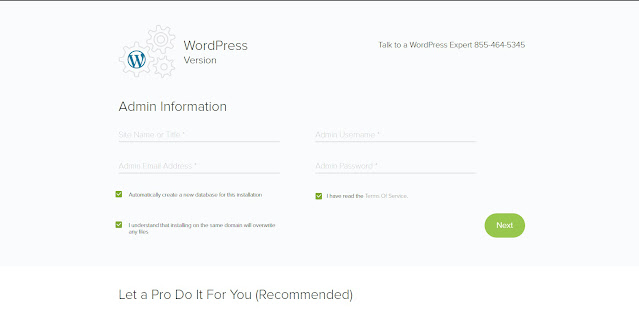
After WordPress has been installed, you will see the Success message. There is an option of view your credentials. Also, your credentials will send to your email as well. Now you can manage your WordPress website from your WordPress Dashboard.
Step 6: Log in, Customization, and Blogging!!
At this point in time, you have your own WordPress blog. Now you need to login to your WordPress dashboard and then you can customize your blog in your own way. You can log in to your website using your credentials at www.websitename.com/wp-adminYou can customize your blog using different themes from the WordPress repository. There are thousands of free WordPress Themes available. Choose a theme that suits your website niche. You can also try paid themes that provide much more flexibility and control over the look of your website.
You can also increase the functionality of your WordPress site using plugins. There are thousands of free and paid plugins available. Also, there are a lot of help forums, resources, and documentation available free by the WordPress developers community.
You can also check out other posts on our website to find out the best tips, tricks, tools, and tutorials regarding Blogging, WordPress, Web Designing, and Development.
I like this post, enjoyed this one regards for putting up.
ReplyDeletePost a Comment